Ever had your stream crash mid-battle royale, leaving viewers staring at a black screen? Us too. That’s why mastering the art of stream equipment test is non-negotiable for any aspiring streamer.
In this guide, you’ll learn everything about testing your gear like a pro—from identifying bottlenecks to optimizing audio and video quality without breaking the bank. Let’s make sure your next live session runs smoother than butter on toast.
Table of Contents
- Why Stream Equipment Testing Matters
- Step-by-Step Guide to Stream Equipment Tests
- Pro Tips for Smoother Streams
- Real-Life Success Stories in Equipment Testing
- Frequently Asked Questions About Stream Equipment Tests
Key Takeaways
- A proper stream equipment test prevents mid-stream disasters.
- You don’t need expensive gear to achieve professional-grade streams—just smart optimization.
- Identify weak points early using stress tests and monitor performance metrics regularly.
Why Stream Equipment Testing Matters
Imagine this: It’s primetime, your chat is buzzing, and suddenly… nothing. Silence. A spinning loading icon mocks you while hundreds (or worse, thousands) of viewers disappear faster than you can say “buffering.”

Streaming isn’t just pressing “Go Live”—it’s a delicate balance between hardware, software, and internet speeds. And if one piece fails, your entire broadcast suffers. According to recent data from TwitchTracker, over 40% of viewers leave after encountering technical issues during streams. Yikes.
So how do we avoid this nightmare scenario? Enter the world of thorough stream equipment tests. By taking time to evaluate each component of your rig, you ensure reliability, maximize performance, and keep those hard-earned subscribers happy.
Step-by-Step Guide to Stream Equipment Tests
Optimist You: “Alright, let’s get started—it’s easy!”
Grumpy You: “Easy? Sure, but it takes patience.”
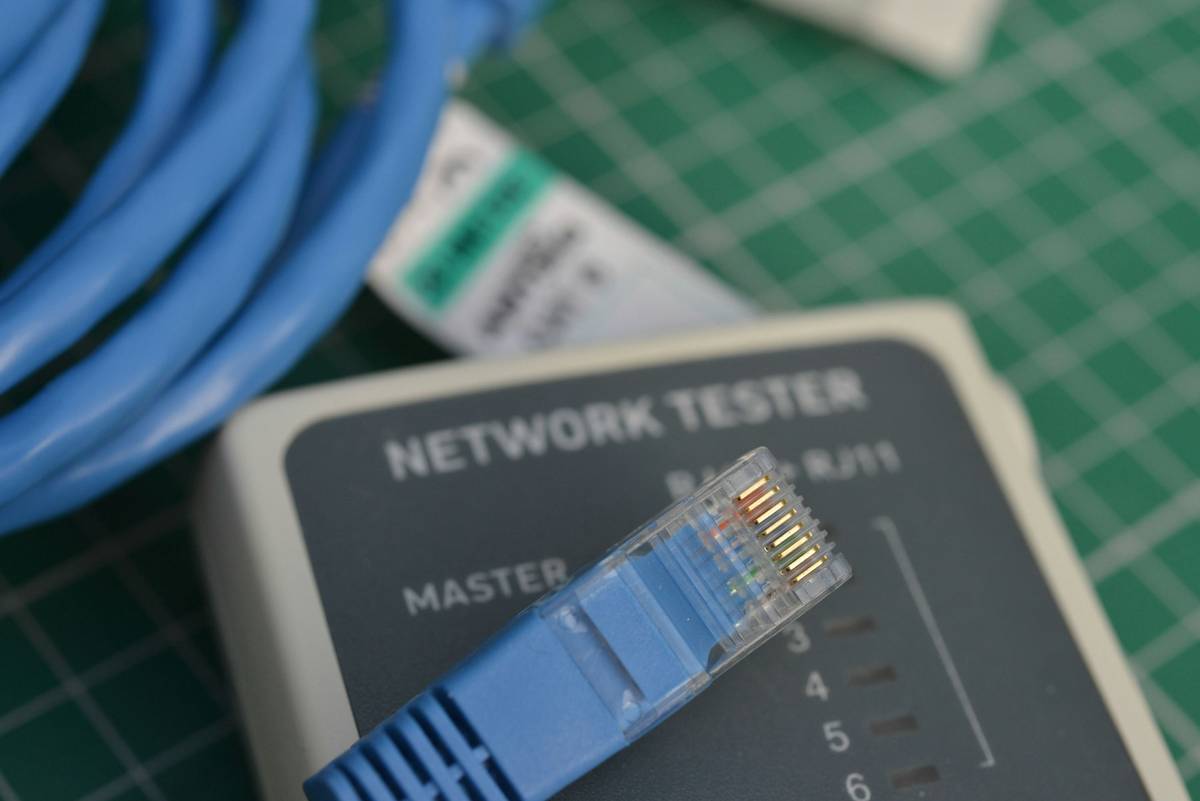
Step 1: Test Your Internet Connection
First things first: Check your upload speed. Most platforms recommend at least 5 Mbps for 1080p streaming. Use tools like Speedtest.net or Fast.com to measure your connection.
**Storytime fail:** I once thought my WiFi was stable until it dropped randomly during a crucial Valorant match. Lesson learned? Always use Ethernet cables for consistent bandwidth.
Step 2: Stress-Test Your Hardware
Run benchmarking software like MSI Afterburner or OBS Studio’s built-in stats overlay to identify potential CPU/GPU bottlenecks. Monitor temperature levels too—you don’t want your PC overheating mid-game.
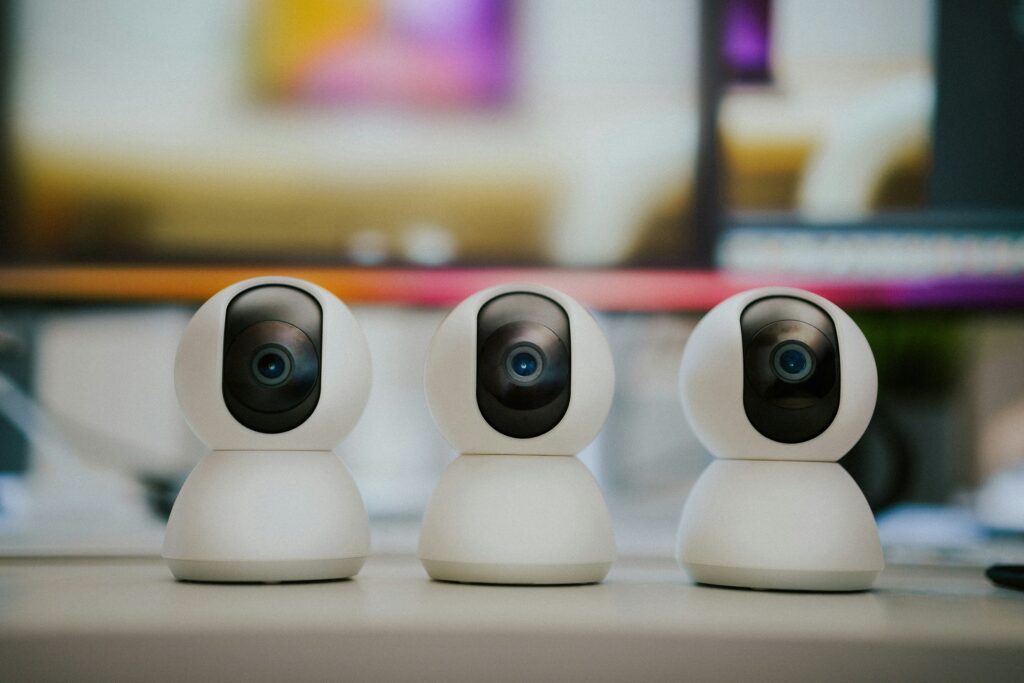
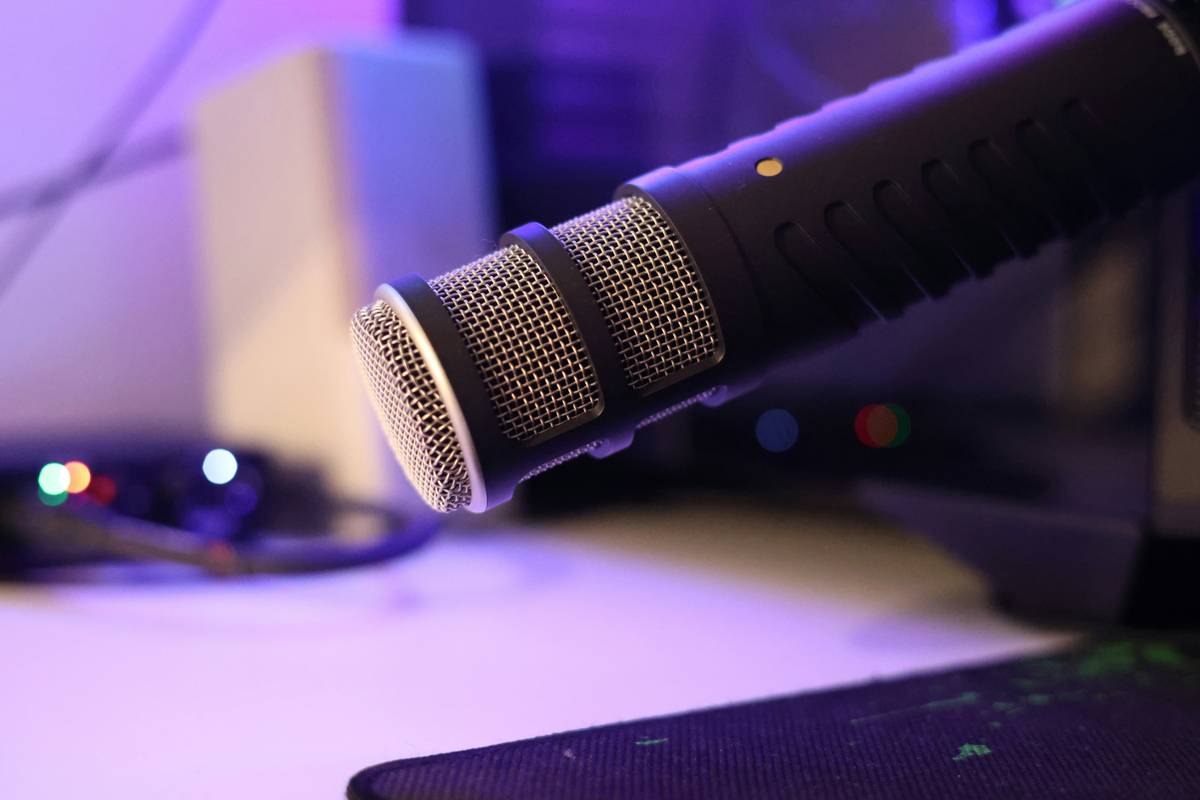
Step 3: Calibrate Audio & Video Settings
Bad audio kills engagement quicker than anything else. Invest in a decent microphone, even if budget constraints exist (Blue Yeti mics are great starters).
For cameras, adjust resolution and frame rate settings based on your hardware capabilities. Aim for 720p/60fps as a baseline unless your system supports higher resolutions.
Pro Tips for Smoother Streams
- Pre-Record Intro Videos: Reduce strain on your equipment by pre-recording static parts of your stream.
- Upgrade Gradually: Don’t splurge all at once. Prioritize upgrades where they matter most (internet > GPU > mic).
- Use Dual Monitors: Keep your gameplay separate from OBS controls to reduce multitasking chaos.
Terrible Tip Disclaimer: Some people suggest turning off antivirus software permanently for smoother streaming. Please don’t risk malware infections—find less dangerous ways to optimize performance instead!
Real-Life Success Stories in Equipment Testing
Case Study: Meet Alex, a part-time gamer who grew her audience by 300% after implementing weekly stream equipment tests. She discovered her router couldn’t handle uploads beyond 3 Mbps, so she upgraded to fiber optic internet and saw immediate improvements in stream stability.
Here’s a snapshot of her progress:
Frequently Asked Questions About Stream Equipment Tests
What should I prioritize when buying new streaming gear?
Your internet connection comes first. Next, focus on improving audio since clear communication keeps viewers engaged longer.
How often should I perform stream equipment tests?
Ideally, run basic checks before every session and conduct full stress tests monthly. Consistency ensures fewer surprises during critical moments.
Is free software enough for testing?
Absolutely! Tools like OBS Studio, MSI Afterburner, and online speed testers provide robust solutions without costing a dime.
Conclusion
Nailing a perfect stream equipment test might feel daunting, but remember—it’s all about preparation and practice. Whether you’re troubleshooting Wi-Fi woes or tweaking camera angles, small changes add up to big wins over time.
Now go forth, brave streamer, armed with knowledge sharper than a pixel-perfect katana. Oh, and here’s a bonus haiku because why not:
Bits flow smooth like silk,
Camera captures truth untold,
Chat cheers—you nailed it.