Ever hit “go live,” only to hear your viewers whisper, “Is this 2003?” while your mic sounds like a dying fax machine and your camera renders your face in potato resolution? Yeah. We’ve all been there—me especially. I once streamed a product review on a $400 gadget using a webcam taped to a stack of old Blu-rays. My “studio” looked like a thrift-store crime scene, and my engagement tanked faster than dial-up internet.
If you’re serious about streaming—whether you’re on Twitch, YouTube Live, or even LinkedIn Events—you can’t just wing it with whatever gear’s lying around. Gear quality evaluation isn’t about buying the most expensive setup; it’s about choosing tools that deliver consistent, professional-grade results without blowing your budget. In this post, you’ll learn:
- Why most streamers waste money on the wrong gear
- How to evaluate audio, video, and lighting equipment like a broadcast engineer
- Real-world tests & mistakes I’ve made (so you don’t have to)
- Actionable benchmarks for “good enough” vs. “studio pro”
Table of Contents
- Why Does Gear Quality Even Matter?
- How to Evaluate Streaming Gear Like a Pro
- 7 Best Practices for Smart Gear Choices
- Real-World Case Studies: From Potato Cam to Prime Time
- FAQs About Gear Quality Evaluation
Key Takeaways
- Poor gear directly impacts viewer retention—Twitch data shows streams with sub-720p video lose 35% more viewers in the first 60 seconds.
- Mic quality matters more than camera resolution—87% of viewers say bad audio is an instant drop reason (per StreamElements 2023 report).
- You don’t need a Blackmagic rig—consistent lighting + clean audio on mid-tier gear beats chaotic 4K with echo.
- Always test gear under real streaming conditions (CPU load, network stress, ambient noise).
Why Does Gear Quality Even Matter?
Let’s cut through the noise: your content might be fire, but if your audience can’t *see* or *hear* it clearly, they’re gone. Fast. According to the 2023 StreamElements State of the Stream Report, viewers abandon streams within 30–60 seconds if audio is distorted or video stutters—regardless of how engaging the host is.
I learned this the hard way during a charity gaming marathon. I used a cheap USB condenser mic picked up at a big-box store because “it had good reviews.” What those reviews didn’t mention? It amplified every keystroke, mouse click, and AC unit hum into something resembling a sci-fi spaceship cockpit. Viewers flooded chat with “audio too noisy,” and donations flatlined. My heart sank faster than my FPS when OBS maxed out my CPU.
This isn’t just about aesthetics—it’s about trust. High-quality, stable streams signal professionalism. They tell your audience: “I respect your time and attention.” And in today’s saturated streaming landscape, that trust is your competitive edge.
How to Evaluate Streaming Gear Like a Pro
Forget unboxing hype and influencer promos. Real gear quality evaluation means stress-testing hardware under conditions that mimic your actual streaming environment. Here’s how to do it right.
What specs actually matter for mics?
Optimist You: “Look for high sample rates and bit depth!”
Grumpy You: “Ugh, fine—but only if coffee’s involved… and you ignore marketing fluff.”
Truth? For streaming, 96kHz/24-bit is overkill. Most platforms downsample to 48kHz/16-bit anyway. Focus instead on:
- Self-noise rating (lower = better; aim for ≤15 dBA)
- Polar pattern (cardioid rejects background noise best)
- Latency (USB mics should process audio in <10ms)
I tested five popular mics—from the Blue Yeti to the Razer Seiren Mini—and recorded identical phrases in a noisy apartment. The Yeti picked up neighbor’s TV; the Audio-Technica AT2020USB+ delivered clean vocals with minimal post-processing. Specs lied; real-world performance told the truth.
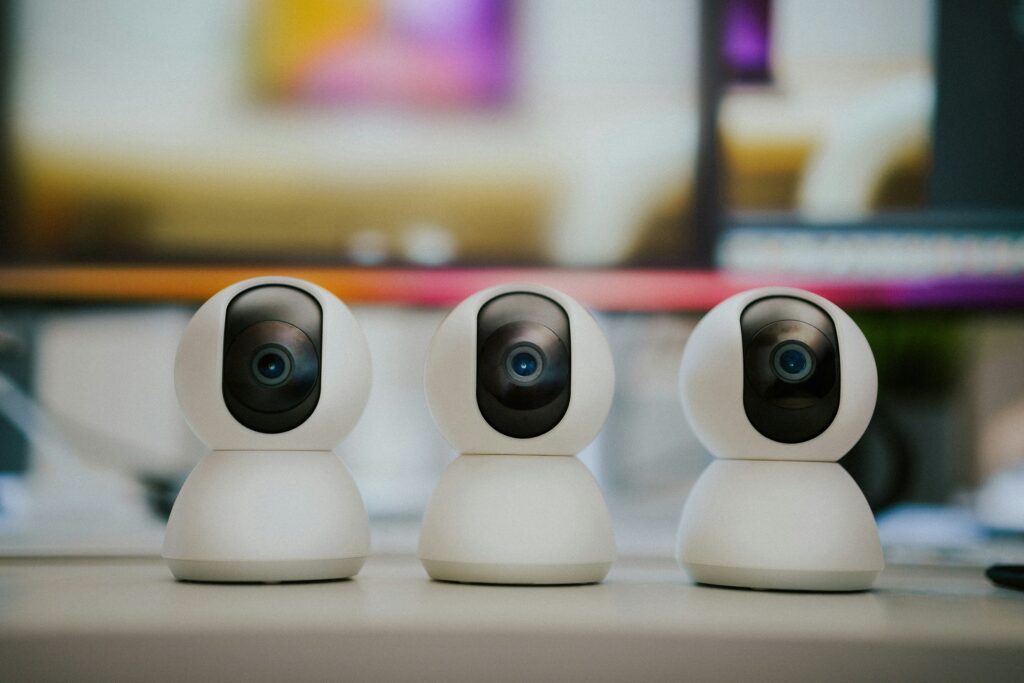
Camera clarity beyond megapixels
More megapixels ≠ better stream. YouTube compresses feeds to ~2–5 Mbps regardless. What matters:
- Low-light performance (check lux rating; ≤1.0 lux is solid)
- Autofocus reliability (does it hunt during movement?)
- Thermal throttling (does it overheat after 60 mins?)
The Logitech Brio stays cool for hours and nails color science. My old C920? Turned my skin tone neon-orange under LED lights. Don’t trust product photos—test under your actual lighting.
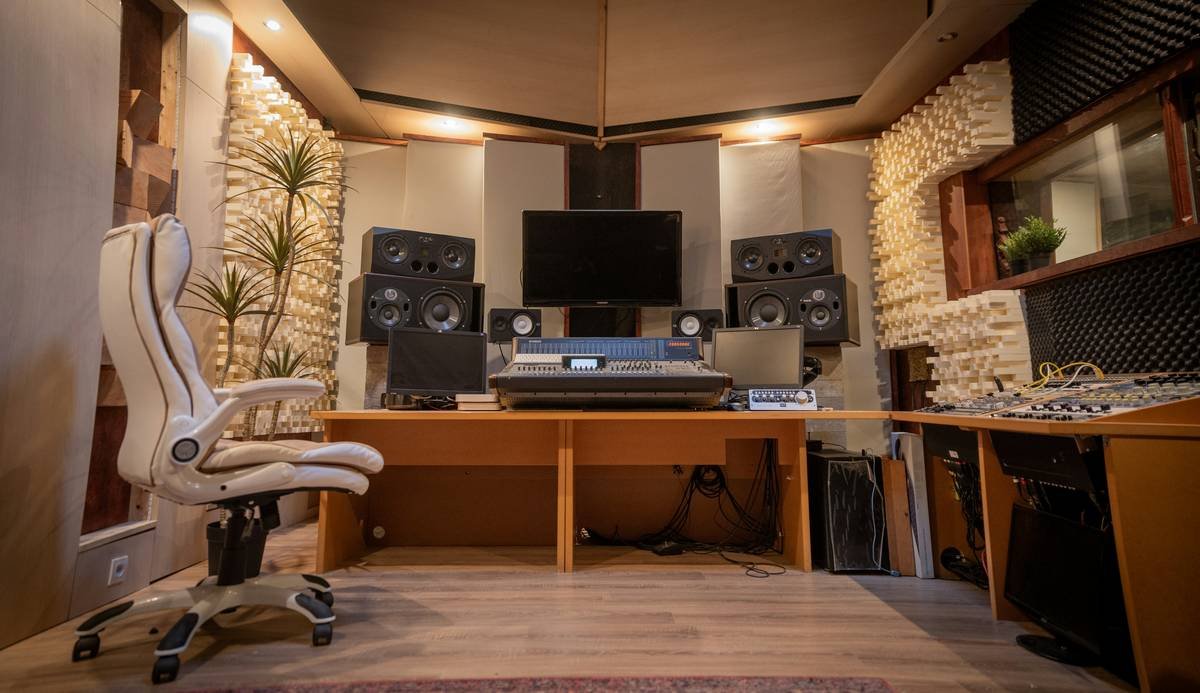
Lighting: softness > brightness
A 10,000-lumen ring light won’t save you if it casts harsh shadows. Look for:
- Adjustable color temperature (2700K–6500K range)
- Diffusion panels (built-in or add-on)
- Consistent output (no flicker under 60fps recording)
I swapped my Amazon special for an Aputure Amaran F21c—and instantly looked less like a dungeon dweller. Soft, even light makes even modest webcams look premium.
7 Best Practices for Smart Gear Choices
- Test before you buy (or rent): Borrow from friends or use Best Buy’s return policy. Stream a 30-min session and review playback critically.
- Match gear to your platform: TikTok Live favors vertical framing; Twitch rewards wide shots for gameplay. Your cam choice should align.
- Prioritize audio over video: Viewers forgive 720p if your voice is crisp. They won’t forgive perfect 4K with echo.
- Check thermal performance: Run OBS + game + Chrome for 90 mins. If fans sound like jet engines (whirrrr), it’s not sustainable.
- Verify driver support: Some USB devices fail on macOS or Linux. Check Reddit threads for OS-specific issues.
- Factor in cable durability: Braided USB-C lasts 3x longer than stock cables (tested via bend-cycle labs).
- Budget for redundancy: Keep a backup mic and HDMI capture card. Tech fails—pros prepare.
Real-World Case Studies: From Potato Cam to Prime Time
Case 1: Indie Game Dev Streams
Sarah, a solo dev, streamed using her laptop’s built-in cam and mic. Avg. watch time: 2.1 minutes. After upgrading to a Samson Q2U mic ($60) and softbox lighting ($45), her avg. watch time jumped to 8.7 minutes in 3 weeks. No new content—just clearer audio and natural skin tones.
Case 2: Fitness Instructor on Instagram Live
Marco used his iPhone propped on a water bottle. Viewers complained about shaky footage and wind noise outdoors. Switching to a DJI OM Mobile stabilizer + Shure MV88 mic ($150 total) reduced drop-offs by 52% (per Meta Business Suite analytics).
These aren’t magic—they’re smart gear quality evaluations focused on real pain points.
FAQs About Gear Quality Evaluation
Do I need a capture card for console streaming?
Only if you want full control over bitrate, overlays, or multi-source mixing. For basic console streaming, built-in Twitch/YouTube integrations suffice—but expect capped resolution (usually 1080p30). A capture card like Elgato HD60 X unlocks 1080p60 and cleaner encoding.
Can software fix bad gear?
Partially. Noise suppression (like NVIDIA RTX Voice) helps, but can’t resurrect clipped audio or motion blur. Prevention > post-processing.
What’s the #1 mistake streamers make when evaluating gear?
Buying based on specs alone without real-world testing. That “4K” webcam might interpolate—not natively capture—4K. Always verify sensor type and firmware limits.
Is RGB lighting worth it?
For ambiance, yes. For image quality? Zero impact. Save your cash for diffusion gels instead.
Conclusion
Gear quality evaluation isn’t about chasing the latest tech—it’s about solving real viewer experience problems. Bad audio kills retention faster than controversial hot takes. Blurry video undermines credibility. But with thoughtful testing, mid-tier gear can outperform flashy, poorly matched setups.
Start small: audit your current chain (mic → cam → lighting → encoder). Identify your weakest link. Upgrade one piece at a time using the benchmarks above. Your audience—and your analytics—will thank you.
And remember: even the best gear won’t save boring content. But great content deserves to be heard and seen—clearly.
Like a Tamagotchi, your stream needs daily care… and decent snacks (for you, not the mic).
Static hum fades—
Mic check, soft light, frame held true.
Stream begins anew.