Ever streamed for hours only to realize your viewers were squinting through pixelated video and tinny audio? Yeah, we’ve all been there.
If you’re serious about leveling up your streaming setup, this post will show you how to conduct a proper gear quality test. You’ll learn why testing matters, what tools can save you headaches, and the sneaky mistakes most streamers overlook. Plus, expect some brutally honest rants and confessions that’ll make you laugh (and cringe).
We’ll dive into: diagnosing common issues, step-by-step instructions for testing your gear, top tips from seasoned pros, real-world examples, FAQs—and an unexpected haiku at the end. Let’s roll!
Table of Contents
- Why Is Your Gear Letting You Down?
- Step-by-Step Guide to Conducting a Gear Quality Test
- Top Tips for Ensuring High-Quality Streams
- Real-World Examples: Lessons Learned
- Frequently Asked Questions About Gear Quality Tests
Key Takeaways
- A gear quality test identifies weak points in your audio, video, and internet connection before they sabotage your streams.
- Poor equipment choices or improper settings are often the culprits behind bad stream performance.
- Investing time upfront on rigorous testing saves you frustration—and keeps your audience engaged long-term.
Why Is Your Gear Letting You Down?
Picture this: it’s Friday night, and after months of grinding content creation, your Twitch channel finally hits 50 concurrent viewers. But then one viewer types, “Your audio sounds like my laptop fan during a summer meltdown.” Ouch.
I once spent $400 on a shiny new microphone without running any tests—I thought “expensive = better.” Spoiler alert: not true. Turns out, I had bought a mic designed for studio vocals—not live streaming. My voice sounded muffled, and no amount of tweaking could fix it.
The truth is, many creators jump straight into buying gear without understanding their specific needs. A proper gear quality test ensures every piece of tech performs optimally for YOUR unique goals.
Rant Alert: Stop falling for flashy influencer ads promising miracle results. If your webcam struggles to handle low light, throwing money at filters won’t help. Test first!
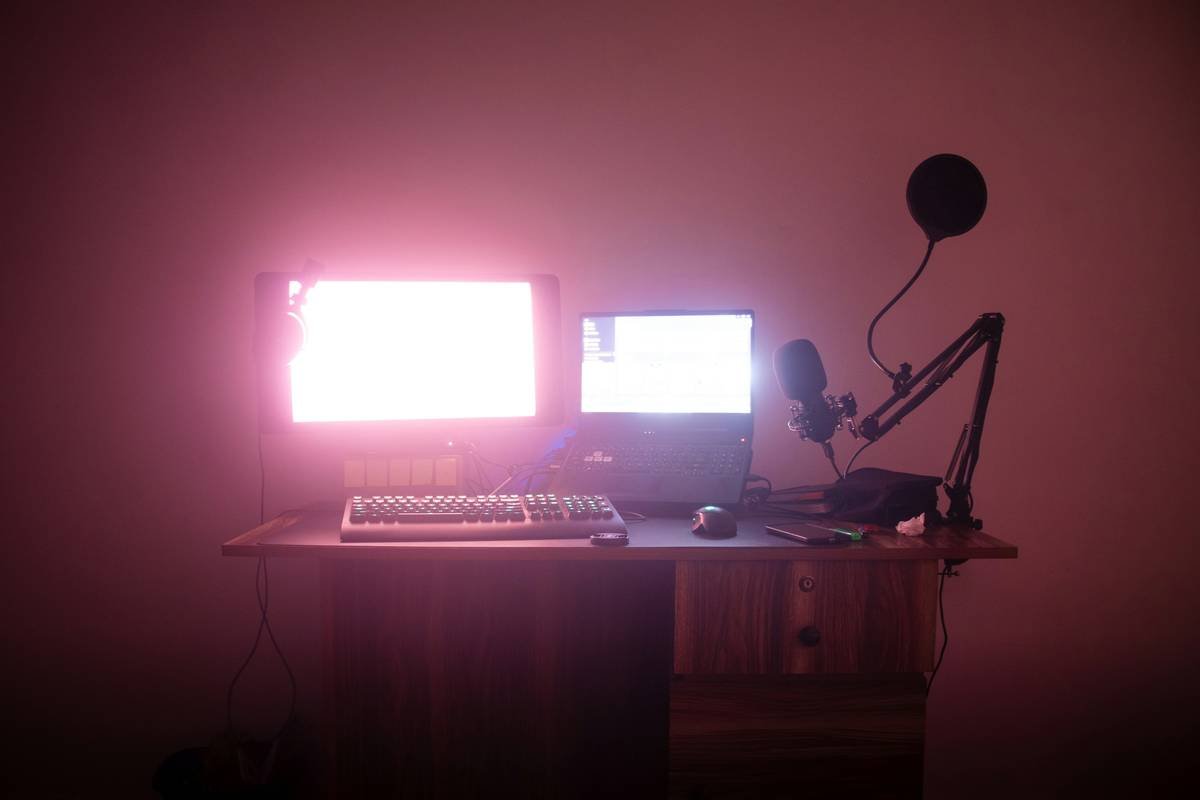
Step-by-Step Guide to Conducting a Gear Quality Test
Here’s where things get practical. Follow these steps to run a comprehensive gear quality test for your streaming setup:
- Check Internet Speeds: Optimist You says, “This router should be good enough!”
Grumpy You replies, “Ugh, fine—but ONLY if you use Speedtest to confirm download/upload speeds meet your streaming platform’s requirements.” Aim for at least 10 Mbps upload speed for HD streams. - Test Video Clarity: Record yourself speaking in various lighting conditions using different webcams. Does the image stay sharp? Are colors accurate? Bonus points if someone else reviews the footage—fresh eyes catch nuances you might miss.
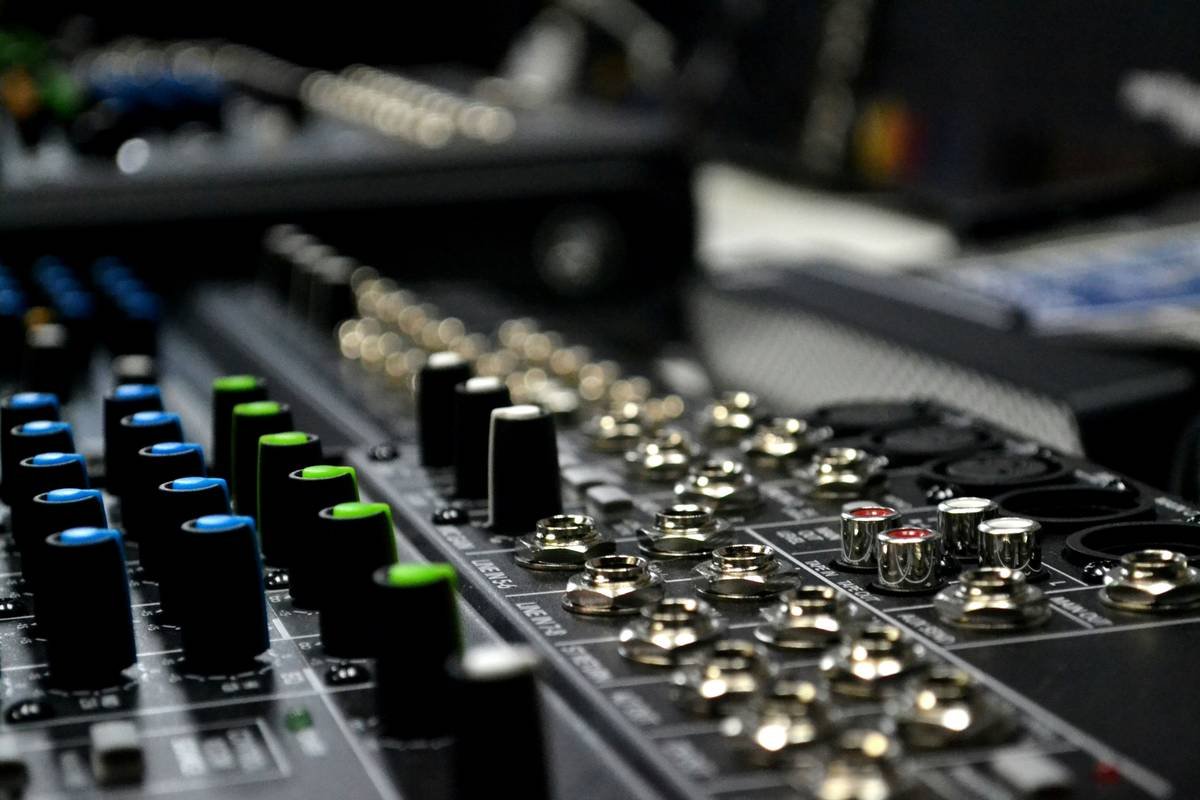
- Evaluate Audio Quality: Wear headphones while playing back recorded clips. Listen for background noise, echo, distortion, or uneven volume levels. Pro tip: Use free software like Audacity to analyze waveform patterns.
- Simulate Real Conditions: Stream a short test session with friends as mock viewers. Ask them specifically about lag, buffering, resolution drops, or anything else weird happening on their end.
- Document Results & Iterate: Keep notes on what works and what doesn’t. Tweak variables until satisfaction strikes—or tears flow, whichever comes last. *Chef’s kiss.*
Top Tips for Ensuring High-Quality Streams
Ready to elevate your game? Here are actionable takeaways to nail your next gear quality test:
- Ditch Cheap HDMI Cables: One terrible tip floating around online suggests using bargain-bin cables because “they work just fine.” Guess what happens when one fails mid-stream? Disaster.
- Incorporate Lighting Checks: Ring lights and softboxes aren’t magic wands; positioning matters too. Try three-point lighting setups to highlight your face and reduce shadows.
- Use OBS Studio Settings Wisely: Resolution and bitrate settings depend heavily on your hardware capabilities. Push too hard, and your CPU screams louder than your gaming headset.
- Upgrade Only What Matters Most: Instead of blowing cash on every shiny gadget, prioritize upgrading items directly impacting core performance—like your capture card or mixer.
Real-World Examples: Lessons Learned
Let’s talk success stories—and cautionary tales:
Case Study #1: Alex, a part-time gamer turned full-time streamer, struggled with inconsistent audio levels despite owning premium gear. He ran consistent gear quality tests, discovered his monitor speakers caused feedback loops, and switched to closed-back headphones instead. Problem solved.
Case Study #2: Sarah spent weeks frustrated over blurry video quality despite investing in a top-tier DSLR camera. After consulting forums and redoing her tests, she realized her graphics card was bottlenecking output rendering. A quick driver update fixed everything.
Sometimes, solutions are simpler (and cheaper) than expected. Don’t underestimate the power of thorough investigation!
Frequently Asked Questions About Gear Quality Tests
Q: How often should I perform a gear quality test?
A: It depends, but aim quarterly—or whenever adding/removing major components.
Q: Can I test gear quality without professional tools?
A: Absolutely! Plenty of free apps measure things like latency, FPS, and decibel range. Combine those with trial runs viewed by trusted peers.
Q: What’s the biggest mistake people make during tests?
A: Ignoring environmental factors like room acoustics, ambient noise, or even pets jumping onto desks mid-test. Control variables wherever possible.
Conclusion
To recap, mastering a gear quality test involves more than fancy devices—it’s about methodical evaluation tailored to YOUR unique needs. Start small, iterate wisely, and never skip diagnostic checks again.
“Streaming gears hum steady,
Audience stays ‘cause sound feels juicy,
Pixels align—peace!”
P.S.: Like Frodo tossing the One Ring into Mount Doom, nailing your gear quality test means saving Middle-earth—err, your stream—from chaos.